FS2020: Flight Training
Flight Training in Microsoft Flight Simulator (2020) is a set of activities which set of lessons which aim to teach the user how to fly. Lessons range in complexity from taxiing to landing airliners, though most Flight Training focus on general aviation activities.
Lessons
As of Sim Update XI (SU11) (2022-11-11), there are 7 lesson series totaling 43 individual lessons:
- Basic Handling — 8 lessons — Cessna 152
- Take-off and Landing — 7 lessons — Cessna 152
- VFR Navigation — 5 lessons — Cessna 152
- Glider Training — 7 lessons — DG Flugzeugbau DG-1001e neo
- Airliner Training — 2 lessons — Airbus A320neo
- Bush Pilot — 7 lessons — ICON A5
- IFR Navigation — 7 lessons — Cessna 172 Skyhawk
Mechanics
Each lesson series is divided into multiple bite-size lessons. Lessons are generally guided using a combination of voice prompts from the flight instructor, instrument highlights, and glowing markers. Each series (with the exception of Airliner Training) culminates in a test without the guidance aids and which can be failed.
Users may take lessons in any order and may skip lessons, if so desired, though it is not recommended to do so. Lessons can be repeated at any time.
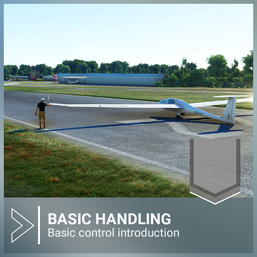
Basic Handling
The basic steps to handle an aircraft. There are eight Basic Handling lessons flown in the Cessna 152.
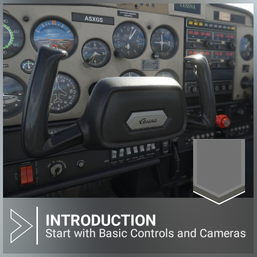
Introduction
In this first lesson we will focus on the basic simulator controls that will help you manipulate your aircraft, adjust camera position both inside and outside the cockpit, interact with instruments, and open the 'toolbar' menu.
- Opening the toolbar menu during flight
- Interacting with the camera panel via the toolbar
- Using the cursor to highlight and interact with cockpit instruments
- Creating, saving, and accessing custom camera views
Estimated length: 5 minutes
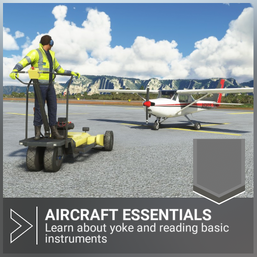
Aircraft Essentials
Getting familiar with the aircraft main controls and instruments:
- The yoke to control the ailerons and the elevator
- The rudder pedals to control the rudder and steering on the ground
- The throttle and RPM indicator (tachometer)
- The Airspeed indicator and Altimeter
Estimated length: 4 minutes
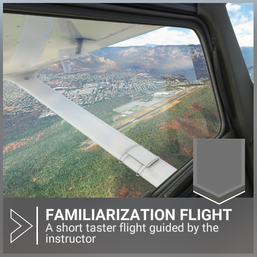
Familiarization Flight
In this lesson you will get familiar with the aerial surroundings of Sedona, and perform some simple maneuvers under close supervision from your instructor:
- Quickview to look around
- Smartcam to automatically focus on a point of interest (in this case, Sedona airport)
- Pitch up and down
- Turns
Estimated length: 5 minutes
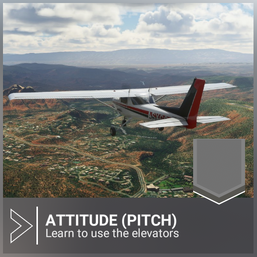
Attitude (Pitch)
Attitude refers to the aircraft's nose position relative to the horizon. There are 3 pitch attitudes, controlled by the elevator, and in this lesson you will learn to Climb, Cruise and Descend. You will also discover the relationship between pitch and speed. Pitching up will cause the speed to decrease, while pitching down makes speed increase.
Estimated length: 2 minutes
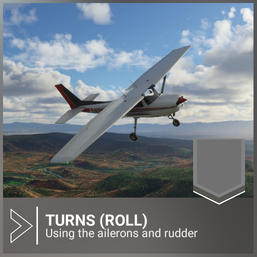
Turns (Roll)
To turn, you will have to move the yoke in the direction you want to go, and maintain the sideslip ball centered with a small rudder correction. Like for climb or descent, an attitude (or position of the horizon on the windshield) will help you maintain the desired performances. You can confirm the bank angle with the notches at the top of the attitude indicator. Each notch represents 100.
Estimated length: 2 minutes
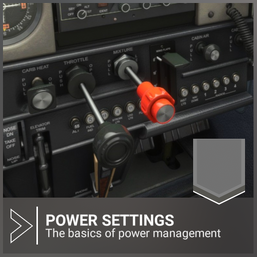
Power Setting
The throttle is the command to adjust the aircraft power setting displayed on the RPM tachometer. In this exercise, you will maintain the same cruise attitude and reduce/increase the RPM to see the effect of power change on the airspeed and altitude.
Estimated length: 2 minutes
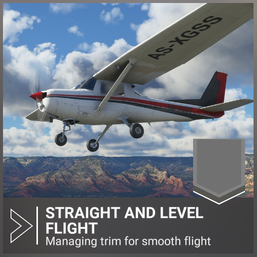
Straight and Level Flight
Familiarize yourself with the attitude (pitch) and power relationship. Changing one, or both, will result in a difference in Speed, Altitude or Heading. Attitude + Power = Performance. You will also discover the "Trim wheel" to help you maintain a desired attitude.
- Accelerate/decelerate at a level altitude
- Refine aircraft handling skills
Estimated length: 3 minutes
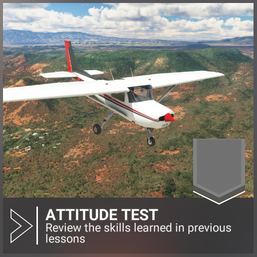
Attitude Test
In this test we will review the attitudes by combining a climb and a turn. We will then review the power settings and straight and level flight by reducing the power while maintaining the heading and altitude.
Estimated length: 3 minutes
Take-off and Landing
Practice getting into the air and safely back down again. There are seven Basic Handling lessons flown in the Cessna 152.
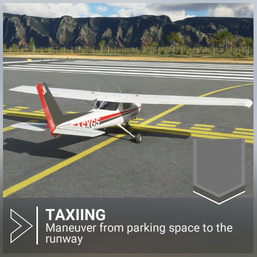
Taxiing
One essential skill before flying in the sky is to taxi an aircraft. A training session dedicated to familiarize you with rolling and steering an aircraft on the ground:
- Use the rudder pedals to steer the aircraft
- Control rolling speed with throttle and brakes
- Taxi to the holding point of runway 21 and stop
Estimated length: 5 minutes
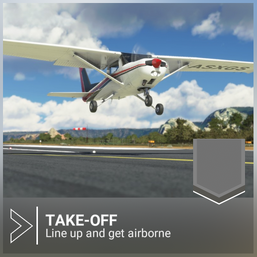
Take-off
There is nothing like the thrill of taking flight. A training session dedicated to getting you off the ground:
- Taxi into position on the runway
- Accelerate to 55 kts before pitching up to Take off (rotation)
- Maintain 75 kts while climbing to safety altitude of 5500 feet
Estimated length: 4 minutes
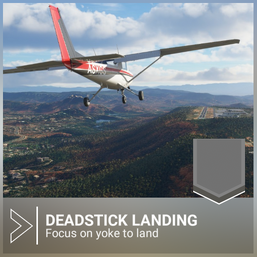
Deadstick Landing
In this training session, you will be placed in conditions that will allow you to focus on using the yoke only to land:
- Manage speed and glidepath on the final approach
- Flare the aircraft to touch-down smoothly
- Brake after landing to end the flight safely
Estimated length: 4 minutes
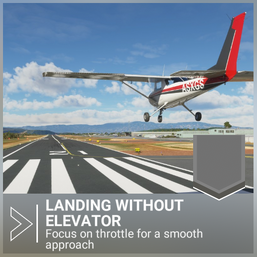
Landing Without Elevator
In this training session, you will be placed in conditions that will allow you to focus on the throttle to manage the glidepath on the final approach to land:
- Manage glidepath on the final approach
- Flare the aircraft to touch-down smoothly
- Brake after landing to end the flight safely
Estimated length: 4 minutes
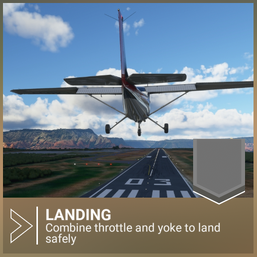
Landing
What goes up must come down. In this training session, you will focus on the key techniques for successful landings:
- Manage speed and glidepath on the final approach
- Flare the aircraft to touch-down smoothly
- Brake after landing to end the flight safely
Estimated length: 4 minutes
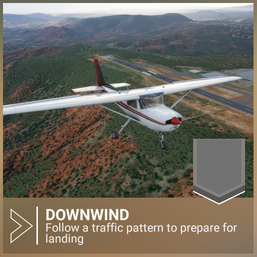
Downwind
This training session covers the procedures to be performed from downwind leg to final approach:
- Once established in downwind along the runway 21 at 6000 ft, start to prepare for the landing by reducing the speed to 80 kts and set 100 of flaps. A good distance from the runway is a gliding distance, you can judge by seeing the runway from the cockpit at about half the strut under the wing
- When turning to base leg, reduce power and maintain the attitude to fly at 65 kts
- When turning to final approach, keep maintaining 65kts and follow the glideslope. Use power or flaps as required to adjust the slope. Then flare, land and brake close to the runway centerline
Estimated length: 4 minutes
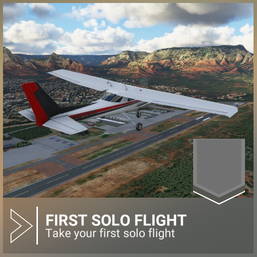
First Solo Flight
You've trained for this, now it's time to show off your skills: complete standard traffic pattern without assistance from the Instructor
- Take off and climb at 75kts until you reach 5400 ft
- Turn left to crosswind leg and climb to 6000 ft while maintaining 75 kts
- Once established in downwind leg, maintain the attitude to fly at 6000 ft. Start to prepare for the landing by setting speed to 80 kts and extend 100 of flaps
- Enter base leg and prepare the aircraft for landing
- When turning to final approach, keep maintaining 65 kts and follow the glideslope. Use power or flaps as required to adjust the slope.
Estimated length: 4 minutes
Learn about Visual Flight Rules (VFR) and how to use the outside world to navigate. There are five VFR Navigation lessons flown in the Cessna 152.
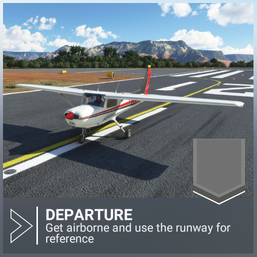
Departure
A good departure is the key to a good navigation. After the takeoff, take a safe altitude of 6500 ft, 500 ft above the circuit height; and fly over the runway at a 410 heading to start your navigation from a known location. You are now ready to navigate!
Estimated length: 5 minutes
Dead Reckoning
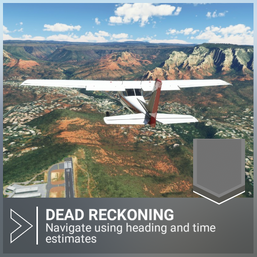
Dead-reckoning is a method of navigation widely used in VFR flights. This training session is all about the basics of dead-reckoning navigation. Starting from a known location at a safe altitude, 6500 ft above the airport, take the heading 410 towards your next waypoint "Munds Park Golf Course" and start the clock. Maintain the heading and you should find Munds Park Golf Course after 5 min of flight. You basically just need to repeat the operation from waypoint to waypoint to follow a planned route and reach any destination.
Estimated length: 7 minutes
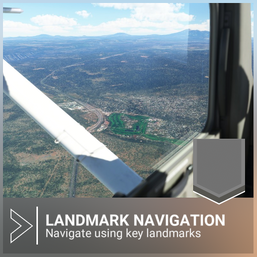
Following and aiming at land features is the most basic method of navigation. It is widely used in VFR navigation: Starting above Munds Park Golf Course, find the highway and follow it up to Flagstaff Airport 6 min away.
Estimated length: 7 minutes
Arrival
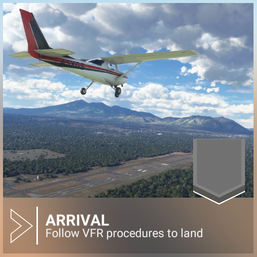
Last part of a navigation is arriving to destination. In this lesson we will see how to integrate the circuit, or traffic pattern, of an uncontrolled airport. Start by a fly over the airport at not less than 500 ft above the circuit height, in this case fly at 8500 ft to identify the active runway. Then turn left and descend to the circuit altitude of 8000 ft and fly over the runway again to integrate left downwind of the runway 21.
Estimated length: 7 minutes
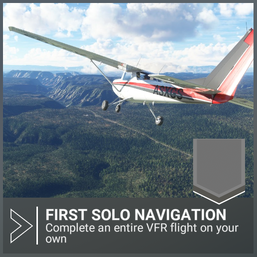
It's the return trip from your previous lessons, you'll be departing Flagstaff-Pulliam Airport, handling every navigational step on your way to Sedona.
- After the takeoff, take a safe altitude of 8500 ft, 500 ft above the circuit height; and fly over the runway to start your navigation from a known location.
- Choose whatever method of navigation you're confident with to reach Munds Park Golf Course: dead-reckoning, landmark navigation, or both.
- Once you've reached your destination, fly over Sedona Airport at 6500 ft to identify the active runway, then descend to 6000 ft to integrate left downwind of the runway 21.
- Follow the traffic pattern and keep the speed at 65 knots during the final approach. Flare, land and brake close to the runway centerline Training Duration
Estimated length: 11 minutes
Glider Training
Learn how to pilot unpowered sailplanes and experience the wonder of sailing.
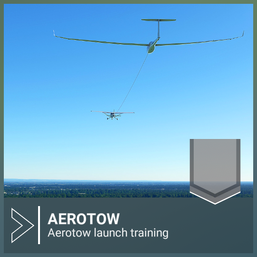
Aerotow
In this tutorial, we will perform an aerotow launch and then release at 3,000 feet AGL. We will be flying the DG 1001e and will be towed by a Cessna 172SP. After launching, you will need to follow the tow aircraft through several turns. As you follow the tow aircraft, you will need to keep the tow line under tension by flying directly behind the tow aircraft with as little deviation as possible from its flight path. The flight will begin on runway 22 at Oerlinghausen Segelflugplatz (EDLO) airfield in Oerlinghausen, Germany.
Stages of aerotow
- Launch: Focus on keeping wings level and then once you lift off, maintain an altitude of about five feet above the runway until the tow aircraft is airborne.
- Climb Out: As the tug rotates, gently pull back on the control stick to climb at the same rate as the tug aircraft. As the tug turns, follow its path as closely as possible to maintain tension on the tow line.
- Release: At 3,000 feet AGL, the tow pilot will rock the tow aircraft's wings to indicate that you should release. Release the tow rope, and as you do, apply a small amount of forward stick to keep your airspeed up and gently turn to the right.
Aerotow challenges
The glider can have a significant and adverse effect on the tow plane if it drifts off course. The most dangerous form of deviation is rising above the altitude of the tow aircraft as it will lift the tail of the tug. This will pitch its nose down and potentially induce a dangerous dive from which it can only recover if the tow line is jettisoned. This is particularly dangerous at low altitudes. Past incidents and studies show it takes roughly 600 feet for a tug to recover from this situation. Always keep the tug in front of the glider and never lose sight of it. If you lose sight of the tug, immediately release the tow rope and take necessary action based on altitude and distance to the runway.
Lesson objectives
At the end of this mission, you will:
- Be able to perform an aerotow launch in a glider.
- Be able to track the course of the tug and maintain tension on the tow line.
- Understand what the release signal from the tug looks like, and how to perform a release from the tug.
Estimated length: 7 minutes
Winch Launch Training
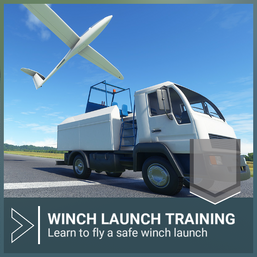
This tutorial will train you to use a glider winch launch system. Flying the DG 1001e two-seat, high-performance sailplane, the system will get you into the air faster and release you at a much lower altitude than using an aerotow launch. This type of launch allows pilots to practice more take-offs, circuit flights, and landings than with an aerotow. The flight will start on Runway 22 at Oerlinghausen Segelflugplatz (EDLO) airfield in Oerlinghausen, Germany.
Stages of winch launching
- Pre-Launch: Winch driver slowly pulls in the cable to take up slack. Once tight, the signal is given, and the winch driver will accelerate to the appropriate launch speed for the glider being launched.
- Launch: Keep the wings level. As airspeed increases, allow the glider to lift off of the ground. Maintain a level attitude until the aircraft accelerates to rotation speed.
- Initial rotation: Once at rotation speed, gently pull back on the stick to pitch the nose of the glider up to a 45-degree angle.
- Full climb: Once at the full climb angle, ensure the speed of the launch is maintained between 95 and 130 kilometers per hour.
- Reduction in climb: As the glider approaches the top of the launch, the nose will start to drop naturally, and the glider's ascent rate will gradually decrease. The winch driver will reduce the speed of the winch to ensure the glider does not go beyond its maximum safe speed and to reduce wing loading pressure.
- Cable release: At the top of the launch the glider will begin to level out. The winch driver will reduce power to just above idle. When these two events occur, release the cable. Should you fail to release the cable in time, it will automatically back-release as a safety measure.This will result in a slight nose-down attitude.
Lesson objectives
At the end of this mission, you will:
- Be able to perform a winch launch in a glider.
- Once you've completed both the winch tutorial and the aerotow tutorial, you will understand the differences between an aerotow launch and a winch launch.
- Potentially experience the back-release safety system.
Estimated length: 2 minutes
Winch Launch Training, Advanced
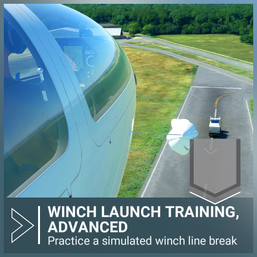
We will be practicing low-altitude tow cable break procedures in this tutorial, one of the most important type of emergency actions in soaring. This will be a simulated break that you initiate by disconnecting the tow cable when we reach 700 feet altitude above ground. Using a winch launch to get airborne, you will need to disconnect the cable at the right moment, then control the sailplane to get into the pattern to land on Runway 22. The flight will start on Runway 22 at Oerlinghausen Segelflugplatz (EDLO) airfield in Oerlinghausen, Germany.
Towling breaks
This exercise will train you in the procedures should your tow line break during launch.
The most common causes of a tow line break are:
- Tension is reduced and then suddenly re-applied, shocking the line and breaking it.
- The tow aircraft experiences an emergency and jettisons the line.
- Pilot experiences an in-air emergency and needs to abort the launch.
We practice this emergency scenario at a lower altitude using a winch launch system as this portion of glider flight is the most dangerous. Without an onboard engine to maintain or provide additional lift, glider pilots need to react immediately and control the aircraft with precision. If you are too low after launching, fly directly to runway 040 and land.
Lesson objectives
At the end of this mission, you will:
- Be able to recover from a tow line break or premature release.
- Fly your first abbreviated or full pattern landing to the runway.
- Practice landing straight and level on the runway, preventing any wing strikes.
Estimated length: 2 minutes
Basic Handling
Today's lesson will introduce you to the basic controls and instruments of a glider. You will launch in a DG 1001e two-seat, high-performance sailplane. You will be in the forward seat and your instructor will be sitting behind you. Cruising at 4,000 feet AGL, you will perform some maneuvers that will familiarize you with basic glider dynamics and systems. The flight will begin in the air above Sedona Airport (KSEZ) in Sedona, AZ, USA.
Basic flying: pitch and airspeed
As with every aircraft, a pilot needs to stay above a minimum airspeed to prevent the aircraft from stalling and plummeting out of the sky. With powered aircraft, airspeed is typically maintained by thrust generated by an engine. With gliders, pilots must trade altitude for airspeed.
- Pushing the control stick forward lowers the nose of the glider and increases its rate of descent and increases its airspeed.
- Pulling back on the control stick raises the glider's nose and reduces the rate of descent or begins a climb. Airspeed will decrease.
- Maintaining a constant airspeed with the stick will result in stable flight and a predictable descent rate.
Gliders are equipped with only the most basic, necessary instrumentation to keep overall aircraft weight low. Instruments include:
- The airspeed indicator
- The vertical speed indicator / variometer
- The altimeter
- The yaw string
The yaw string
The most effective skid / slip indicator is a piece of yarn attached to the center of the canopy, called a yaw string. It indicates whether the glider is correctly aligned with the airstream and if the pilot is making proper amounts of coordinated rudder and aileron inputs. A centered yaw string indicates coordinated flight.
- When centered, air flows along the glider's longitudinal axis, producing minimal drag. An efficient aircraft has a higher airspeed and will lose less altitude as it moves forward. This will be demonstrated in the slipping approach lesson.
- A deflected yaw string indicates skidding or slipping flight, which increases drag and lowers the efficiency of the glider's flight.
Centering the yaw string is simple:
- Apply rudder opposite to the string deflection, or
- Apply aileron to the same side to which the string is deflected.
Lesson objectives
At the end of this mission, you will:
- Be able to properly steer the aircraft at different airspeeds.
- Be able to trim the aircraft to maintain a consistent airspeed / sink rate.
- Understand how to fly in coordinated flight, using the yaw string as a reference.
Estimated length: 12 minutes
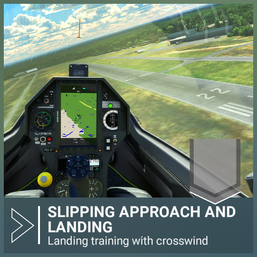
Slipping Approach and Landing
This tutorial will introduce you to the forward slip and the side slip, two very important maneuvers used in glider flight. The forward slip is used to lose altitude quickly and the side slip is used to land in a crosswind. The flight will start in the air, high on the approach to Runway 22 at Oerlinghausen Segelflugplatz (EDLO) airfield in Oerlinghausen, Germany.
The slip maneuver
Both the forward slip and the side slip are a type of aerodynamic control called a cross-controlled maneuver that use both rudder and aileron input, but each applied in opposite directions. With gliders, pilots use slips in two basic scenarios:
- Forward-slip: To steepen the approach when air brakes are not efficient enough / have failed. With a forward slip, the pilot applies full or nearly full rudder input in one direction, and an appropriate amount of aileron input in the opposite. This dramatically increases drag and the glider will lose altitude while keeping the direction of flight aligned with the runway.
- Side Slip: to align the aircraft's direction with the runway in crosswind conditions. With side slip, the pilot uses aileron input into the wind and uses opposite rudder input. This counteracts the effect of the crosswind but keeps the aircraft flying in-line with the runway.
Entering a slip
- Gently push the rudder up to its full stop or until aligned with the runway.
- At the same time, apply some aileron to the opposite side.
- Keep the plane on track with aileron movements.
During the slip you might need to pull the stick back a bit, to prevent the nose from dropping. Additionally, your airspeed indicator might indicate a lower speed then you are actually flying due to airflow not flowing directly into the pitot tube.
Exiting a slip
- To stop the slip, gently return rudder and ailerons to their center positions.
Lesson objectives
At the end of this mission, you will:
- Be able to use the forward slip technique during an approach to steepen your glide path.
- Be able to execute a side slip to correct for a crosswind.
- Be able to correctly perform a crosswind landing.
Estimated length: undefined
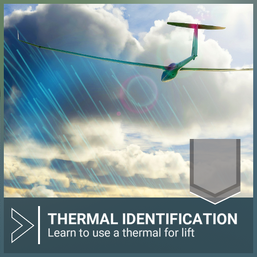
Thermal Identification
In this tutorial, we are going to search for, identify, and then fly into thermals to gain altitude. The flight will start in the air around the Oerlinghausen Segelflugplatz (EDLO) Airfield in Oerlinghausen, Germany.
Thermals
Pilots can use natural lift to gain altitude in gliders, greatly extending their flight times and flight distances. One of the most commonly used forms of natural lift is the thermal. A thermal is a parcel of air that rises due to the process of convection, where solar energy heats the surface of the earth and that heats the air above it, which then rises. By entering these bubble-like parcels of air, which often have very small diameters, glider pilots can gain hundreds or thousands of feet of altitude, especially if they fly within the cores of thermals.
Thermal identification
Because thermals transport moisture to higher altitudes, they can often be identified by cumulus clouds that form. Cumulus clouds often have the appearance of cotton balls with flat bases. Not all cumulus clouds indicate a thermal with sufficient lift for a glider. A pilot must constantly be on the lookout for potentially powerful thermals. Other telltale signs of thermals include dust devils and birds circling.
Etering a thermal
Approach a thermal at 102 kilometers per hour, wings level. At the edge you may initially experience strong downdrafts. As you approach the core, you should feel increasing lift. Wait 2 or 3 seconds and then start a turn. If one wing has lifted more than the other while in straight-and-level flight, turn into its direction, as it indicates the relative direction of the thermal core.
Thermal optimization
Always complete at least one circle to judge the intensity of the thermal. If you have a continuous climb rate, continue circling. If not, fly straight to exit the thermal. Keep your speed between 93 and 102 kilometers per hour. You can expect best climb rates near the center of the thermal. Once established in the thermal, aim for consistent, and coordinated pitch and bank (45 degrees).
Planning for your next thermal
You should constantly look for the next available thermal while circling. When the climb rate loses intensity (e.g., below 200 feet per minute), head to another candidate. Skilled glider pilots are constantly searching for their next thermal to ride into the heights.
Mission objective
At the end of this mission, you will:
- Be able to identify a thermal with potential lift.
- Experience entering and circling within the thermal to identify its intensity.
- Climb in the thermal at the appropriate speed and angle of bank.
- Identify other potential thermal candidates and move from your current thermal to a new one.
Estimated length: 2 minutes
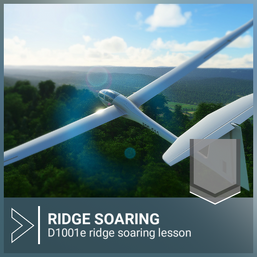
Ridge Soaring
Ridge lift soaring ranks as one of the most spectacular and rewarding activities in the world of gliders. Certain locations throughout the globe are renowned for having conditions that are often ideal for ridge lift soaring. One of these is central Pennsylvania in the northeastern United States. Here, there are several ridges that force moving air into the upper atmosphere which gliders can "ride" for hours on end by carefully maneuvering above the landscape. One of these ridges is near Belleville. Once we are abeam Belleville, we will turn and fly along the ridge. As we approach Highway 322, we will return to the airport. The flight starts in the air, just above Mifflin County Airport (KRVL) airfield in Reedsville, PA, USA.
Ridge soaring basics
Ridge soaring is conceptually simple: wind collides with a topographic barrier (like a mountain ridge, a line of hills, or a sea cliff) and is forced higher. This produces lift on the windward side and above the top of the barrier. Due to gravity and buoyancy, this moving air that has been thrust higher then descends along the lee side of the line of topography. Glider pilots can take advantage of this type of lift, which can loft sailplanes thousands of feet above their starting altitudes. Pilots can ride this lift as high as it will take them, or remain low and test their skills using it to gain just enough altitude to keep flying laterally for miles along the topography.
There are some cardinal rules for ridge soaring:
- Maintain enough airspeed to overcome dangerous turbulences and downdrafts. You should fly at the upper end of the green arc.
- Always turn away from the ridge.
- Never get on the leeward side. Descending leeside air can be powerful.
Traffic
You will frequently encounter other aircraft attempting to ridge soar. If you see traffic, follow these rules:
- The glider having the ridge on its left wing gives way to opposite traffic by turning away from the ridge.
- Overtaking an aircraft is only allowed if you are between the slower aircraft and the ridge.
Lesson objectives
At the end of this mission, you will:
- Be able to fly along a ridge using ridge lift.
- Understand traffic rights-of-way rules.
- Make a flight along the ridge, then come back to debrief.
Estimated length: undefined
Airliner Training
Step into the pilot's seat of an Airbus A320neo. There are two Airliner Training lessons.
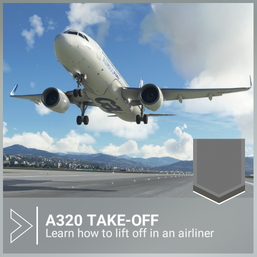
A320 Takeoff
Airliners may seem more complex than light aircraft, but proper preparation will help you take off with ease. This training session will teach you a few key concepts:
- Read take-off speeds on the MCDU and flight computer
- Identify the different detents on the thrust levers
- Monitor the Primary Flight Display (PFD) to identify correct VR speed
- Refine pitch attitude during Initial Climb before engaging autopilot
Estimated length: 4 minutes
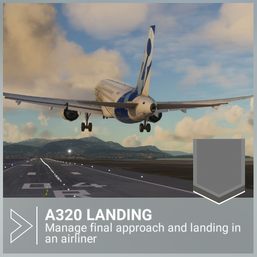
A320 Landing
Prepare for a visual landing approach en route to Nice Côte d'Azur:
- Practice fly-by-wire controls
- Read PAPI lights to maintain optimal approach angle
- Set idle thrust and flare for a smooth landing
Estimated length: 5 minutes
Bush Pilot
Get to grips with the skills required for gravel runways, mountain flying, and water operations. There are seven Bush Pilot lessons flown in the ICON A5.
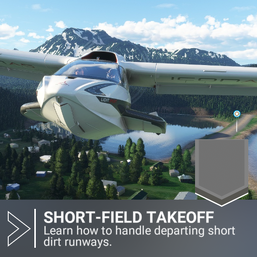
Short-field Takeoff
Expand your horizons as you take to the mountains of Alaska to learn the science and art of Bush Flying. Getting off the ground from a gravel runway requires a modified takeoff technique, requiring us to apply full power whilst holding us still on the brakes, before departing with a steep climb.
Estimated length: 2 minutes
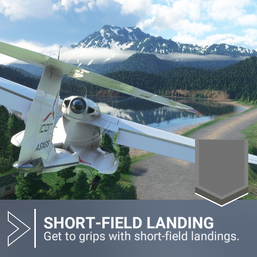
Short-field Landing
You won't find many major airports and long runways out here in the mountains. 's Requiring precise flying and accurate speed control, learn how to come back down to earth and stop on a dirt strip.
Estimated length: 2 minutes
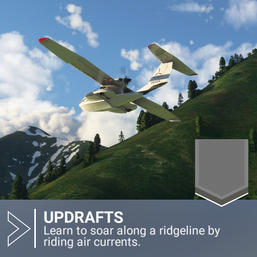
Updrafts
Learn to take advantage of nature and soar like an eagle, riding updrafts along the mountainside.
Estimated length: 3 minutes
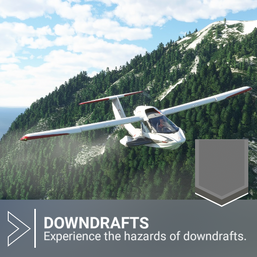
Downdrafts
Learn to respect the forces of nature as you battle with hazardous downdrafts.
Estimated length: 3 minutes
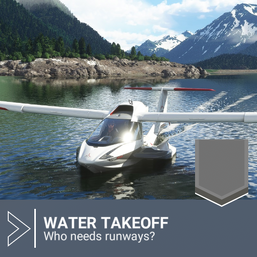
Water Takeoffs
Take to the water and unlock the door to a whole new way of flying.
Estimated length: 2 minutes
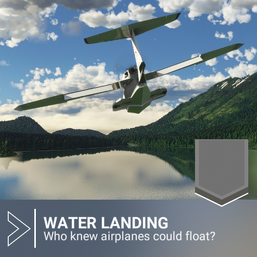
Water Landing
Being able to set down in a lake makes Bush Flying a hugely flexible and rewarding experience. Try your first water landing here.
Estimated length: 3 minutes
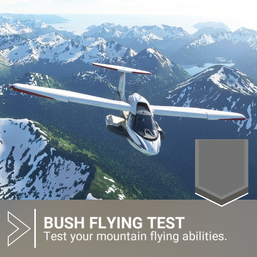
Bush Flying Test
Put what you've learned to the test as you embark upon a short flight through the Alaskan valleys and mountainsides.
Estimated length: 6 minutes
Once you lose your visual references you are forced to rely on your cockpit instruments. Learn how to find your way even after the clouds have rolled in. There are seven IFR Navigation lessons flown in the Cessna 172 Skyhawk.
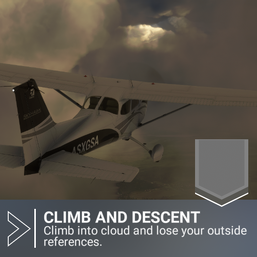
Climb and Descent
Become acquainted with the rewarding world of instrument flight as we introduce you to climbing and descending by reference to the cockpit gauges alone.
Estimated length: 5 minutes
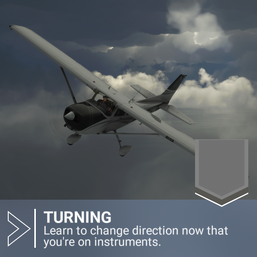
Turning
Learn to change direction whilst starved of external references. Utilize the advancements made with glass cockpit instrumentation.
Estimated length: 5 minutes
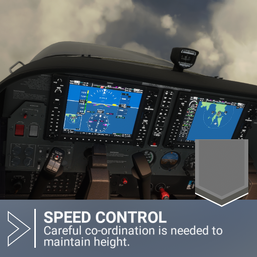
Speed Control
Speed control during instrument flight requires a delicate hand and good coordination to adapt to the change in lift whilst maintaining your altitude.
Estimated length: 5 minutes
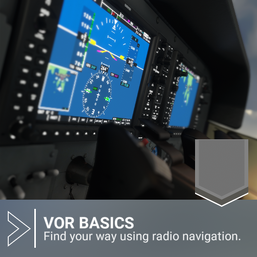
VOR Basics
Grapple with the Very High Frequency Omni-Directional Range, the VOR.
Estimated length: 5 minutes
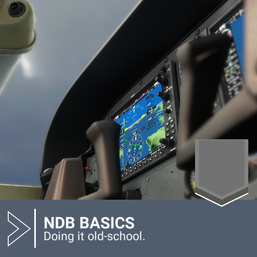
NDB Basics
Get the grips with this classical method of radio navigation by following a simple needle driven by the Automatic Direction Finder (ADF).
Estimated length: 5 minutes
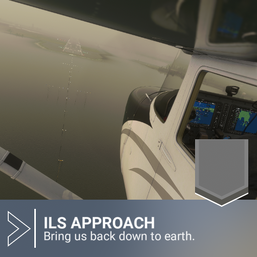
ILS Approach
Get us back down to earth and experience the most common type of instrument landing aid in use today, the ILS.
Estimated length: 6 minutes
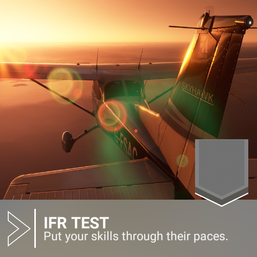
IFR Test
Call upon everything you've learned and master this IFR flying challenge.
Estimated length: 12 minutes
History
- Added the Glider Training series with 7 lessons in the DG Flugzeugbau DG-1001e neo
Sim Update VII (SU7) (2021-11-18):
- Added the Bush Flying series with 7 lessons in the ICON A5
- Added the IFR Navigation series with 7 lessons in the Cessna 172 Skyhawk
Sim Update V (SU5) (2021-07-27):
- We overhauled our training flights to make them more digestible. Each of the 22 flights focuses on a specific notion, starting with basic handling, to landing & take off, VFR navigation, all the way to learning how to fly an airliner like the Airbus A320neo.
Sim Update III (SU3) (2021-03-09):
- [Known issue] The plane continually loses altitude causing it to crash after loading into the Attitudes & Instruments training flight
Sim Update II (SU2) (2020-12-22):
- Two new training missions will help you take off and land with the Airbus A320neo.
Closed beta (2020-07-28):
- Flight Training teaches you how to fly using a Cessna 152.
- Traffic Patterns [retired] – Maneuver safely around a busy airfield
- First Solo Flight [retired] – tackle a traffic pattern on your own
- Navigation [retired] – Follow a flight plan from point A to point B
- First Solo Navigation [retired] – Fly from A to B entirely on your own
Alpha 3 (2020-05-14):
- Objectives are easier to follow when changing devices during the Flight Training lesson Aircraft Essentials
- Familiarization Flight 1st objective can now be completed while inside third person/outside camera mode
- Users no longer despawn/respawn when looking at the instruments during the Attitude (Pitch) Flight Training
- Fixed issues with the TTS voice on the Take-off Flight Training when using the Female Voice
- Objectives could break using the despawn/respawn at the start of the Take-off Flight Training
- If the player failed to take off correctly during the Takeoff Flight Training, neither of the double objectives can remain green (as if validated)
- We still display some debug subtitle-text with TTS audio on the Landing Flight Training
- The "Apply the Brakes" objective failed to get completed after the player applies the brakes during that Landing Flight Training
- Attitude indicator now correctly displays when highlighted in training
- User is now able to continue gameplay using the cockpit camera after crashing and restarting the flight in Flight Training.
Alpha 2 hotfix 1 (2020-04-14):
- [Known issue] There are issues with the TTS voice on the Take-off Flight Training when using the Female Voice
- [Known issue] The TTS voice during the Take Off Flight Training audio and subtitles are mismatched
- [Known issue] We still display some debug subtitle-text with TTS audio on the Landing Flight Training
- [Known issue] Objectives can break using the despawn /respawn at the start of the Take Off Flight Training
Alpha 2 (2020-04-01):
- Added Training Missions: These missions will take you through the Basic Controls, Attitudes and Instruments, and Take-off, Level flight and Landing.

